
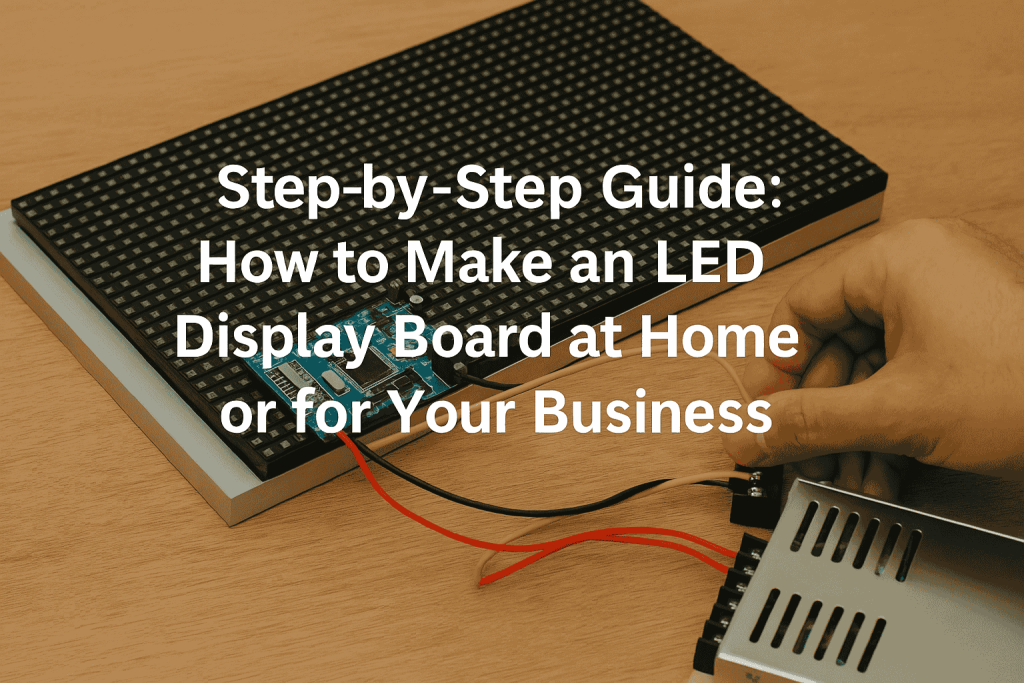
In a world where visual communication is key, LED display boards have become a must-have for businesses, events, and even personal projects. These vibrant and energy-efficient boards grab attention instantly, making them ideal for advertisements, information display, or signage.
Whether you’re a small business owner looking to enhance your brand visibility or a DIY enthusiast curious to learn, here’s a comprehensive step-by-step guide on how to make your own LED display board.
What Is an LED Display Board?
An LED (Light Emitting Diode) display board is a flat panel display that uses an array of LEDs as pixels. These boards are commonly used for signs, billboards, and public information displays because they offer high brightness, visibility, and long-lasting performance.
Step 1: Plan Your Design
Before anything, decide the purpose of your LED display. Is it for showcasing digital messages? A logo? Scrolling text? This will determine the size, resolution, and type of LED modules you’ll need.
Consider:
- Indoor or outdoor usage
- Text-only or full graphics
- Fixed display or programmable
Step 2: Gather Materials
You’ll need the following components:
- LED display module/panel (P10 for text, P4/P2.5 for graphics)
- Controller card (Wi-Fi, USB, or Ethernet-based)
- Power supply unit (SMPS)
- An aluminium or metal frame for housing
- Data cables and connectors
- Acrylic/Glass cover (optional)
- Software for programming (provided with the controller card)
Step 3: Assemble the Frame
Start by building a durable frame using aluminum or metal sheets. This will house your LED modules and protect them from physical damage and weather (especially important for outdoor boards).
At Swami Ji Outdoors, located at Kunjwani Bypass near JK Grameen Bank, Jammu, professionals use top-grade weatherproof materials to ensure every display board lasts long and performs even in tough conditions.
Step 4: Fix the LED Modules
Secure the LED display modules inside the frame. Depending on the module type (P10, P8, etc.), align them carefully to maintain consistent pixel spacing. Use mounting screws to fix them in place.
Connect each module using flat ribbon cables, ensuring data flow from one to the next in the correct sequence.
Step 5: Power Connections
Use a Switching Mode Power Supply (SMPS) to provide power to the LED modules. Connect the +5V and GND terminals appropriately. Each SMPS can power a limited number of modules, so you may need more than one based on your board size.
Swami Ji Outdoors ensures every power connection in their boards is surge-protected and stable, which prevents flickering or board failures — a critical tip for DIY makers.
Step 6: Connect the Controller Card
The controller card acts as the brain of your LED board. It tells your modules what to display. You can choose from:
- Wi-Fi controller cards (like Colorlight or Novastar)
- USB programmable cards
- Cloud-based controllers (for remote updates)
Install the software that comes with the controller and configure the display settings like board size, text speed, brightness, and schedule.
Step 7: Program Your Display
Using the software:
- Create your display content (text, animations, etc.)
- Set scroll speed, colours, and font size
- Test and preview your message
- Upload it to the board via USB/Wi-Fi
Pro tip: Use high-contrast colours and readable fonts for maximum visibility.
Step 8: Test and Final Touches
Power on your display and check for:
- Module brightness and consistency
- Smooth content transitions
- Any pixel or connection errors
Optionally, add an acrylic or polycarbonate sheet to protect your board from dust and damage while maintaining clarity.
Why Go Pro with Swami Ji Outdoors?
If all this seems a little too technical, or you want a premium, professional finish, trust the experts at Swami Ji Outdoors.
They specialize in crafting custom LED display boards for shops, showrooms, events, and institutions with top-quality components and finish. From branding to display solutions, they handle everything from marketing to memories — all under one roof.
- Visit Swami Ji Outdoors: Kunjwani By Pass, Near JK Grameen Bank, Jammu
- Explore services at swamijioutdoors.com
- Follow on Instagram: @swamijioutdoors
Final Thoughts
Building your own LED display board is both a rewarding and functional project. Whether it’s a scrolling message outside your shop or an indoor display for event countdowns, it makes a big impact.
But if you’re short on time or want a polished, weatherproof, and long-lasting solution, reach out to Swami Ji Outdoors for personalized guidance and high-quality products.
Brighten your brand — one LED at a time!